Simple Tips for Installing Car Speakers
Most cars have their distinct kinds of problems associated with car speaker installation, even though Car Speaker parts installation is a relatively simple procedure. Most speaker installations can be completed in an hour or less. The complexity of the installation will depend on the vehicle. Above all, remember that safety must be considered when installing your speakers. Hearing and vision safety must be used when necessary. The following are basic steps to consider with your speakers.

Determine the Car Speakers’ Placement
The placement of your car speakers has a big impact on sound quality. You can probably place your speakers in your car in several ways: through custom mounting or fabricated mounting. You may have already discovered a place for your speakers in your car or truck, usually in one of 3 locations (the dashboard, door, and rear deck). Even though they are created when the vehicle is manufactured, they are an afterthought rather than an integrated part of the strategy. As a result, speakers are often not placed in the best locations in the car, unintentionally affecting the quality of the listening experience in your vehicle.
Create a Balanced Distance for Each Speaker
 Remember to always place the speakers in your home audio system equidistant from each other. That’s because the same distance produces much better sound quality. So, to create a similar effect, place your car speakers the same distance apart. Also, make sure your speakers are up high, as lower speakers will significantly decrease the sound quality. Hence, you will get the best experience of audio sound from the speakers you installed.
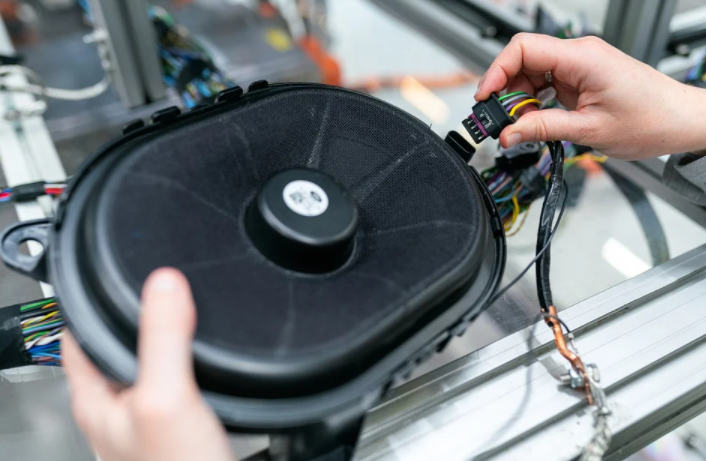
Make Sure Your Car Has Removable Speaker Grilles
When installing speakers in the dashboard and doors, be sure to check if your vehicle has removable speaker grilles. If they can be removed, select the grilles with the appropriate tools, then remove the screws holding the speaker in place, and you should disconnect the speaker use that was connected to the speaker, then connect the speaker tap to the new speaker. Also, you need to insert the speaker tap that is connected to the new speaker into the vehicle tap, place the speaker in the opening, and continue reinstalling it with screws to secure it, replace the grill, and repeat the process with another speaker. When installing speakers in the door, make sure the speakers’ thickness does not interfere with the operation of the window after installation. If the grilles cannot be removed, you may need to remove the dashboard or door seals. Then perform the same procedures as described above, except you want to reinstall the dash pad and door trim. When removing the door trim, keep in mind that there may be screws in the armrest or door area that could support the trim.
See If the Speakers Are Top-Mounted or Bottom-Mounted
If you are installing the rear deck speakers, you will need to determine if the speakers are mounted high or low, as this may determine your steps. If the speakers are mounted high, remove the wiring harness. Then, you should connect the connector to the speaker, insert the connector into the connector on the car side of the speaker, and insert the new speaker into the speaker. When the speakers are mounted, break out the back and remove the speaker. Finally, you should turn on the radio and check the operation of the new speakers.